Custom plugin(Beta)
Introduction
In the current usage of HertzBeat, interaction with external systems only occurs after an alert through the notification feature. The plugin functionality allows users to add custom operations at various stages of the HertzBeat lifecycle, such as executing SQL or shell scripts after an alert, or sending collected monitoring data to other systems. Users can develop plugins following the custom plugin development process, package them, and then upload and enable them using the Plugin Management - Upload Plugin feature, thereby adding custom functionality without restarting HertzBeat.
In the current version, custom plugins are a test feature and may have some limitations and instability. The plugin functionality might be restructured in future versions.
Supported Plugin Types
Post-AlertPlugin- Purpose: Execute custom operations after an alert
- Implementing Interface:
org.apache.hertzbeat.plugin.PostAlertPlugin
Post-CollectPlugin- Purpose: Execute custom operations after data collection
- Implementing Interface:
org.apache.hertzbeat.plugin.PostCollectPlugin
To ensure that plugin functionality is clear and easy to manage, we recommend and only support one implementation of one plugin type interface in a plugin.
If you want to set trigger methods during collection, program startup, etc., please submit a Task at https://github.com/apache/hertzbeat/issues/new/choose.
Development Steps (Example: Implementing a Post-Alert Plugin)
-
Clone the main branch code
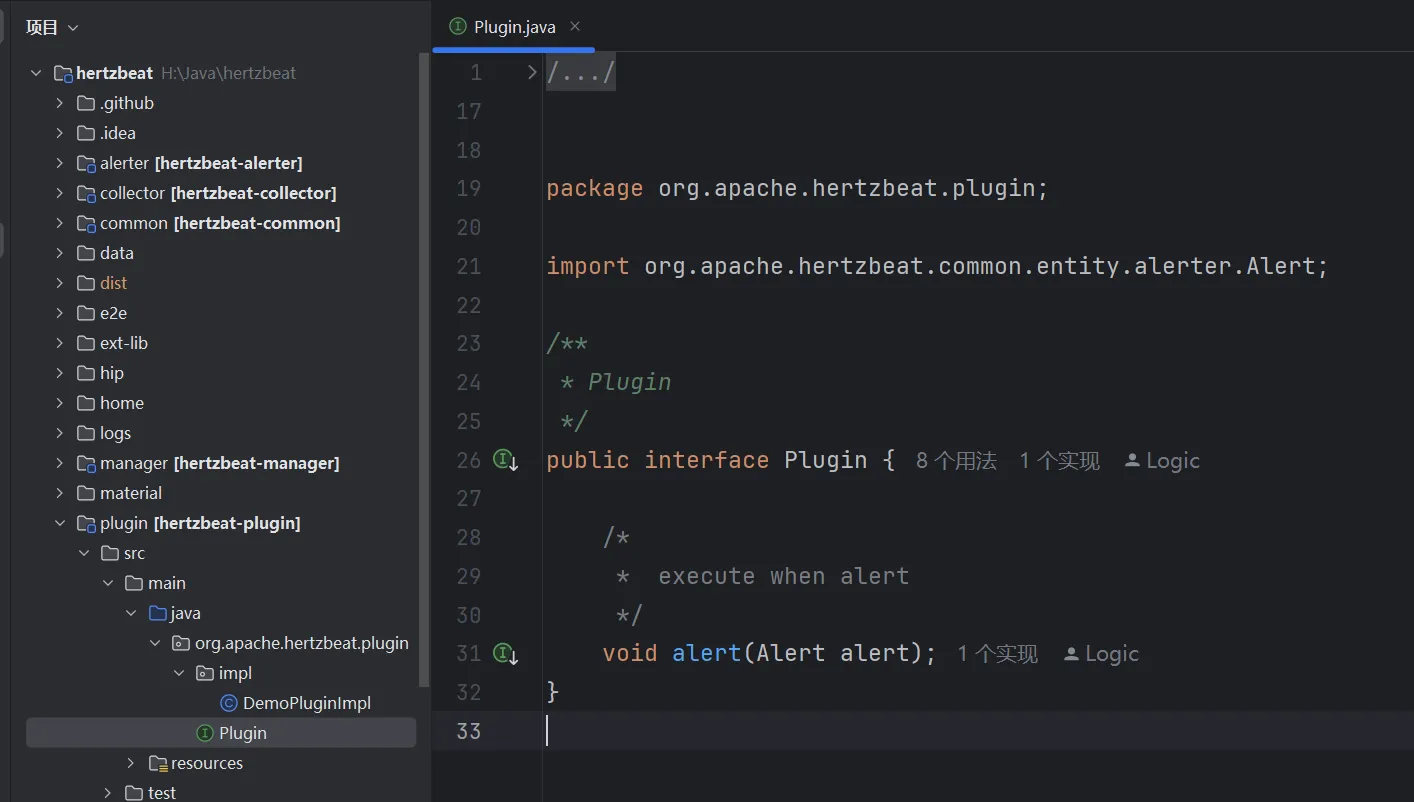
git clone https://github.com/apache/hertzbeat.git, and locate thePlugininterface in thepluginmodule.
-
In the
org.apache.hertzbeat.plugin.impldirectory (create it if it does not exist), create an implementation class oforg.apache.hertzbeat.plugin.PostAlertPlugin, such asorg.apache.hertzbeat.plugin.impl.DemoPlugin. In the implementation class, receive theAlertclass as a parameter, implement theexecutemethod, and define custom logic. Here, we simply print the object.package org.apache.hertzbeat.plugin.impl;
import org.apache.hertzbeat.common.entity.alerter.Alert;
import org.apache.hertzbeat.common.entity.plugin.PluginContext;
import org.apache.hertzbeat.plugin.PostAlertPlugin;
import org.slf4j.Logger;
import org.slf4j.LoggerFactory;
public class DemoPlugin implements PostAlertPlugin {
private static final Logger log = LoggerFactory.getLogger(DemoPlugin.class);
@Override
public void execute(Alert alert, PluginContext pluginContext) {
log.info("DemoPlugin alert: {}", alert);
log.info("DemoPlugin pluginContext: {}", pluginContext);
}
} -
Add the fully qualified name of the implementation class to the
META-INF/services/org.apache.hertzbeat.plugin.PostAlertPluginfile (create it if it does not exist). Each fully qualified name should be on a separate line.org.apache.hertzbeat.plugin.impl.DemoPluginImpl -
Package the
hertzbeat-pluginmodule.cd plugin
mvn package -
Use the
Plugin Management-Upload Pluginfeature to upload the plugin package ending with-jar-with-lib.jar, and enable the plugin to execute custom operations after an alert.
Defining Plugin Parameters
The plugin feature supports custom parameters, and you can fill in the required parameters for the plugin during runtime using the Plugin Management - Edit Parameters feature.
Below is an example of defining a plugin with two parameters, detailing the process of defining plugin parameters:
-
Add a parameter definition file in the
definedirectory. Note that the parameter definition file must be a YAML file starting withdefine, such asdefine-demo.yml. -
Define parameters in
define-demo.ymlas shown below:params:
- field: host
# name-param field display i18n name
name:
zh-CN: 目标 Host
en-US: Target Host
# type-param field type(most mapping the html input type)
type: text
# required-true or false
required: true
# field-param field key
- field: port
# name-param field display i18n name
name:
zh-CN: 端口
en-US: Port
# type-param field type(most mapping the html input type)
type: number
# when type is number, range is required
range: '[0,65535]' -
Use the parameters in the plugin logic
 @Override
 public void execute(Alert alert, PluginContext pluginContext) {
     log.info("param host:{}",pluginContext.getString("host"));
     log.info("param port:{}",pluginContext.getInteger("port"));
 }